
Bathroom flooring takes a beating. Water, humidity, foot traffic, and temperature swings demand a material that won’t swell, warp, or rot in months. That’s where vinyl shines, it’s waterproof by nature, affordable, and genuinely durable. Unlike ceramic tile, vinyl doesn’t crack underfoot or require grout maintenance. Unlike laminate, it laughs off standing water. Vinyl bathroom flooring options have evolved far beyond the dingy patterns of decades past. Today’s vinyl comes in convincing wood looks, stone textures, geometric patterns, and solid colors that work with any bathroom style. Whether renovating a powder room or refreshing a full bath, vinyl delivers practical aesthetics without the contractor bill.
Key Takeaways
- Vinyl bathroom flooring is waterproof, affordable ($2–$8 per sq. ft. installed), and durable, making it superior to hardwood, laminate, and ceramic tile for wet environments.
- Luxury vinyl plank (LVP) with rigid core construction dominates modern bathroom designs, offering realistic wood and stone looks while resisting dents and moisture better than standard vinyl.
- Sheet vinyl provides seamless coverage ideal for small bathrooms, while vinyl tiles enable creative patterns and mix-and-match designs perfect for powder rooms and accent borders.
- Proper subfloor preparation, acclimation for 24–48 hours, and correct installation techniques (click-lock or glue-down) ensure vinyl flooring performs optimally without gaps or buckling.
- Weekly sweeping and monthly damp-mopping with vinyl-friendly cleaners keep your bathroom flooring pristine without the grout maintenance or special sealers required by tile.
Why Vinyl Is The Best Choice For Bathroom Floors
Water resistance is vinyl’s superpower. Unlike hardwood, laminate, or even some engineered woods, vinyl contains no absorbent fibers. It’s made from polyvinyl chloride (PVC) with a wear layer on top, inherently waterproof at every seam when properly installed. Humidity doesn’t swell it, and puddles don’t require panic.
Vinyl is also forgiving underfoot and quieter than tile or concrete. The slight give reduces impact noise and feels gentler on knees during bathroom time. Cost is another reality: vinyl flooring typically runs $2–$8 per square foot installed, a fraction of natural stone or quality ceramic tile. Installation is fast, many vinyl products (especially click-lock planks) can go down in a weekend without messy thinset or grout curing.
Maintenance is straightforward: sweep, then damp-mop with mild soap and water. No special sealers, no grout lines to scrub. For a bathroom where durability, comfort, and budget matter, vinyl checks every box.
Luxury Vinyl Plank (LVP) Designs
Luxury vinyl plank (LVP) is the category dominating bathrooms right now. These planks are 4–8 inches wide, typically 36–48 inches long, with a rigid core underneath (rigid core LVP, or WPC, wood-plastic composite). Rigid core resists dents better than standard vinyl and won’t cup if moisture sneaks beneath.
LVP comes in click-lock or glue-down formats. Click-lock is faster and renter-friendly: planks lock edge-to-edge with a fold-down mechanism. Glue-down requires full-spread adhesive underneath, offering slightly better moisture protection in high-wet areas like around tubs. Either works in bathrooms if the subfloor is clean, dry, and level.
The style variety is what sells LVP: you get wood tones from pale oak to ebony, stone looks, marble effects, and even concrete patterns. Realistic photo textures make them hard to distinguish from real wood at a glance. Depth of color is consistent across planks, eliminating the batch-variation headache of real wood.
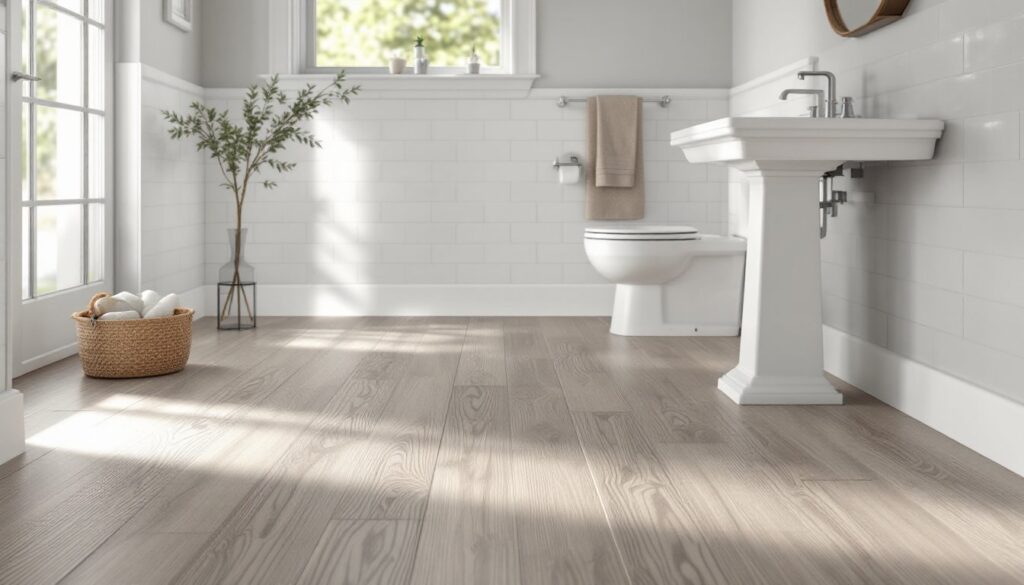
Wood-Look Vinyl Planks
Wood-look LVP replicates hardwood without the upkeep. Warm oak, walnut, or pine finishes work especially well in traditional bathrooms: gray and whitewashed options suit modern spaces. The photographic layer captures grain patterns convincingly, knots, variation, and subtle color shifts that real wood shows.
Choose planks with embossed or hand-scraped surface textures for added authenticity. Smooth finishes are easier to clean but can feel plastic underfoot. A hand-scraped emboss creates small grooves that mimic real wood aging and feel more substantial. Install wood-look vinyl with an underlayment (cork or foam, 2–3 mm thick) to improve sound absorption and cushioning, especially important in upstairs bathrooms where noise travels.
Vinyl Sheet Flooring For Complete Coverage
Sheet vinyl rolls out in 6- or 12-foot widths, covering large areas with minimal seams. It’s an older format than LVP but remains ideal for small bathrooms where you want one seamless look without threshold transitions.
Sheet vinyl installs with full adhesive spread or sometimes just perimeter adhesive and seaming tape in the middle (for smaller rooms). The advantage: a completely waterproof surface with no joints for water to creep through. If your subfloor has minor low spots, sheet vinyl flexes and conforms better than rigid planks.
Style options are extensive, marbles, granites, terrazzos, and simple solids. Thickness ranges from 0.065 to 0.175 inches: thicker vinyl resists dents and feels sturdier. Look for a wear layer of at least 0.015 inches to handle bathroom traffic and moisture without thinning out.
Sheet vinyl requires more precision during installation than LVP: seams must be heat-welded or taped to prevent water infiltration. If you’re not confident cutting and seaming, hire a flooring installer. For DIYers, sheet vinyl works best in simple rectangular bathrooms without complex cutouts.
Patterned & Decorative Vinyl Tiles
Vinyl tiles (also called luxury vinyl tiles, or LVT) offer more personality than planks. They’re typically 12×12 inches or 18×36 inches, allowing mix-and-match patterns and color blocking.
Subway patterns, checkerboards, and geometric layouts let you design a unique floor. Some tiles are solid: others come pre-patterned (think encaustic or Moroccan looks). Decor tiles work particularly well in powder rooms or as accent borders around a larger solid-color field, a small space, bold design won’t overwhelm.
Vinyl tiles install identically to LVP (click-lock or glue-down). Grout-look sealant tape applied to seams mimics tile grout for authentic appearance without actual grout maintenance. Patterned tiles shine when layered, solid field flooring with a patterned border or a central medallion adds visual interest and hides traffic wear in high-traffic zones.
Installation & Maintenance Tips
Before you install, prepare the subfloor. Vinyl requires a clean, dry, flat surface. Any lumps, dips, or debris will telegraph through and cause tiles or planks to rock. Use a self-leveling floor patch or concrete leveler for old concrete or plywood with imperfections over ¼ inch per 10 feet (standard tolerance). If you’re unsure, rent a laser level, it shows slopes clearly.
Measure the bathroom and map your layout beforehand. Start from the center of the longest wall and work outward, ensuring edge planks are balanced and no thin slivers result. Thin edge pieces look sloppy and are harder to cut and install.
Acclimate vinyl for at least 24–48 hours in the bathroom at normal temperature and humidity. Vinyl expands and contracts slightly: acclimation prevents gaps or buckling after installation.
For click-lock planks, fold the tongue down at an angle and lock the next plank gently. Don’t force it: vinyl clicks quietly when correct. Use a block of wood and mallet to tap planks snug, never hammer directly on vinyl. Glue-down installations require a notched trowel (typically ¼×⅜ inch) spread evenly and smoothly across the entire surface.
Moisture barrier: In bathrooms, especially around tubs or showers, apply a moisture barrier membrane (like Schluter Ditra) to prevent water seepage if you’re installing over plywood. For concrete slabs, seal with concrete sealer first.
Maintenance: Weekly sweeping and monthly damp-mopping keep vinyl pristine. Wring the mop nearly dry, standing water isn’t the enemy, but unnecessary wetness invites mold in grout tape seams. Use vinyl-friendly cleaners (no harsh bleach or abrasive scrubbers). For scuffs, a magic eraser works gently. Avoid excessive heat: keep the bathroom ventilated to prevent mold buildup in corners.
Conclusion
Vinyl bathroom flooring delivers durability, style, and ease in one practical package. Whether you choose luxury vinyl planks, sheet flooring, or decorative tiles, you’ll enjoy a waterproof surface that’s affordable to install and simple to maintain. Proper prep and acclimatization ensure long-term performance. Measure twice, install once, and enjoy a bathroom floor that handles moisture without fussing.